http://m.bhs.co.uk/mt/www.bhs.co.uk/en/bhuk/category/home-lighting-furniture-2565866/lighting-event-2331805?cmpid=eml_mar_NL_wk7_141014_2&_$ja=tsid:19731&tp=i-H43-Q37-5St-YbLIX-1c-jlCC-1c-YXRih-1t9EdV
Tuesday 14 October 2014
Lighting offers in the UK.
I don't normally do this but as one of my previous posts featured one of the things on offer, I thought I'd let you know about a massive sale on at BHS in their lighting department. I wouldn't have thought of them really, I'd tend toward Laura Ashley or M&S for interior fixtures but for the lighting, I was impressed by their range.
Wednesday 24 September 2014
Inheritance hooks
OK, I'm a weak woman and I did this ickle bit of DIY… but so light and easy I figured it'd be ok?

So my Nannah gave me some old silver coated spoons when I first set up house. She's moved on to a better place now and I wanted to do something with them that would have them on display. Having checked with my Mum that she would be ok with me bending them I thought I'd use them to hang my favourite implements on. I know the hooks aren't evenly spaced but I wanted them to look a bit rough and homely, I have a tendency to want things evenly spaced, so challenged myself not to on this one.
Here's the solution that I came up with:

- Get a short length of wood.
- Paint it if you want to, and paint the spoons if they're not lovely old ones like mine.
- Drill 6 holes in pairs, about .7cm apart.
- Feed the string through, back to front, then front to back and repeat, tie at one end.
- Get your spoons and some pliers, bend the spoon about half way along the handle using the edge of the pliers, until there is about a 30 degree angle on it.
- Then move the pliers down about 1 cm and repeat.
- Bend to double up the spoon with your fingers for the last bit.
- Feed the Spoon handles through the loops on the front until it hits where the spoon handle ends and the spoon shape begins.
- Tighten the string and tie the other end off.
- Position where you want the wood on the wall.
- Drill (I used a 3.5mm bit) through the wood at each end and into the wall.
- Take the wood off the wall and drill a hole for the raw plug, assuming you're going into plasterboard ( used a 6mm bit for this and light fixture and fitting plastic plasterboard raw plug).
- Pop your raw plug in.
- Screw through the wood and into the raw plug with a screw.
Hallway artwork and DIY ban
So being 39 weeks pregnant and the size of a house somewhat inhibits my ability to do any DIY, so I decided to do some computer artwork instead. I designed the below from scratch loosly based on a henna design I found online.
I don't have a fancy design suite package, so I managed to do it in powerpoint using the curve tool and the basic shapes. Took about three hours (on and off - I can't sit that long at the moment!), but very therapeutic. :)
I wanted something to go either side of the Home Sweet Home I have, remembering the two houses my husband and I have lived in. (The pictures above are postcards from Scotland - topical! - which we bought on a holiday to Edinburgh)


I wanted something to go either side of the Home Sweet Home I have, remembering the two houses my husband and I have lived in. (The pictures above are postcards from Scotland - topical! - which we bought on a holiday to Edinburgh)
Thursday 21 August 2014
Don't spend a *sheet load* on sheets

This is a real simple blog post, but sometime the simple ones are the best so thought I'd write.
My 21 month old loves our duvet. At snuggle time in the morning she'll say "Cover Cas-sarah Mummy" (Please cover Cassandra, Mummy)
I asked her this morning if she would like her own pillow and duvet and she said yes - very excitedly. The thing is, I'm not sure how much longer she'll be in a cot bed - probably a year. I didn't want to buy cot bed duvet covers for her room and then chuck them out after a year.
I also noticed that although they're smaller, cot bed duvet sets seem more expensive (around £20) than standard singles (often under £10). Go figure.
So, I bought a full sized single duvet cover, turned it inside out and placed the duvet inside, centring at the bottom in the middle of the buttoned opening. Then I used just a single line stitch on the sewing machine and sewed down each side of the duvet (the reverse pattern had stripes so this was dead easy) then sewed across the top of the duvet. (Make sure not to sew the duvet to the cover!)
So now when she moves up to an adult single duvet, I just need to unpick three lines of stitching.
Result.
(Duvet and pillowcase was £11 from Tesco and will fit in with her elephant curtains)
Tuesday 5 August 2014
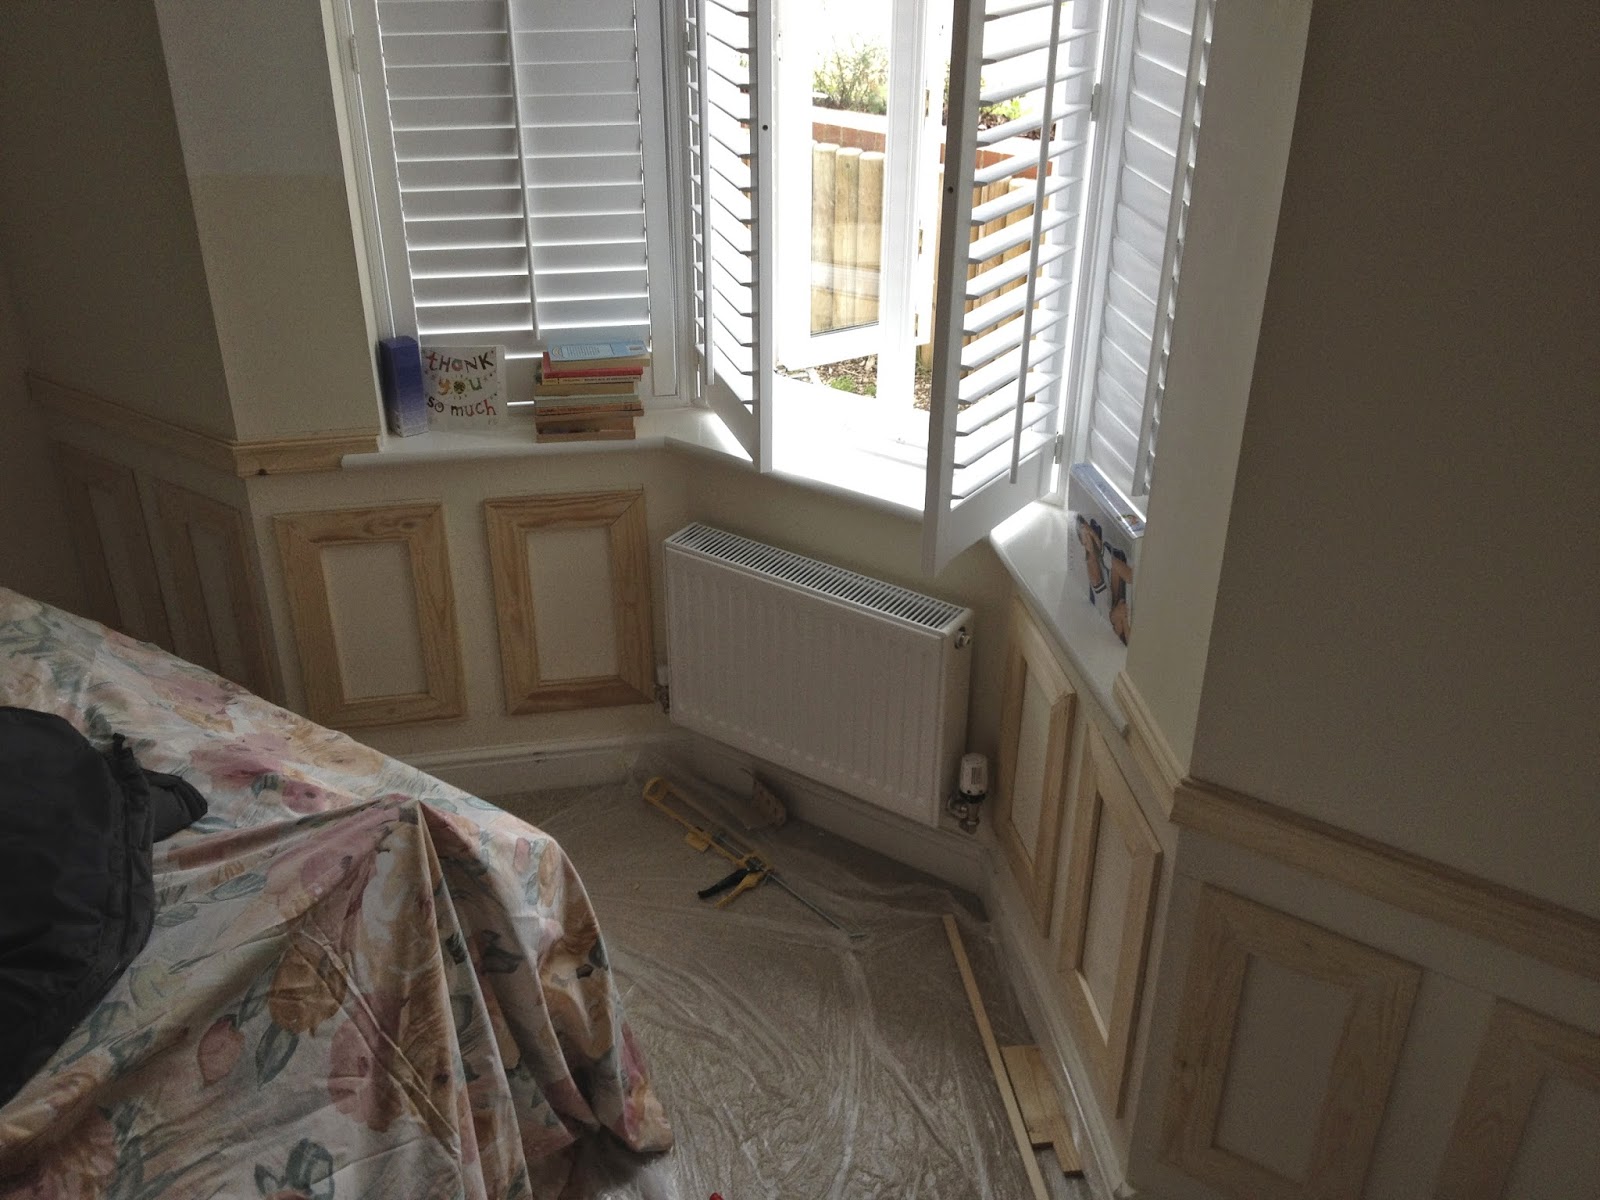
Dining room panelling
Following my recent mega-project in the Lounge, I wanted something similar but (much!) simpler in my dining room. And here it is (excuse the pano shot):

It was dead simple to do, and didn't take more than 5hours in total. The skirting cost about £20 for two lengths, and the strip wood about £13, filler around £4 - so as I had the paint and screws already it all cost just under £37 all in.
Here's my simple 6-step guide to how I did it:
1. I needed to square of the skirting board as I couldn't be bothered to chisel away the shaped edge. So I bought two lengths of board of the same depth and screwed them onto the existing boarding upside down and the wrong way up. Or to be more specific, I countersunk screws having pre-drilled pilot holes in both the new and existing board to prevent splitting the wood. I used 1" screws.


5. I primed the wood with an all purpose primer and had to wait 24 hours to wait for it to dry - grr.


It was dead simple to do, and didn't take more than 5hours in total. The skirting cost about £20 for two lengths, and the strip wood about £13, filler around £4 - so as I had the paint and screws already it all cost just under £37 all in.
Here's my simple 6-step guide to how I did it:
1. I needed to square of the skirting board as I couldn't be bothered to chisel away the shaped edge. So I bought two lengths of board of the same depth and screwed them onto the existing boarding upside down and the wrong way up. Or to be more specific, I countersunk screws having pre-drilled pilot holes in both the new and existing board to prevent splitting the wood. I used 1" screws.
2. Then I cut four strips of plained wood (45mmx18mmx1800) in half and screwed them into the wall (no raw plugs as they aren't taking any weight, and I was feeling lazy) 33cms apart (just because that looks about right for the gaps I had). Incidentally, I centred(ish) the middle of one of the 'panel' sections on the corner.
3. I then added a baton, same dimensions as the rest of it but a little longer - 2400mm as that meant no joins) and added it to the top of the strips on the wall. I had some gaps as I wanted it level, but it worked out really well as the floor is very flat. (I know that sounds obvious, but you'd be surprised).
4. I then filled in all the gaps including:
- countersunk holes in the timber
- behind the new skirting board to fill the gap (took a whole pot of filler!)
- the small gaps between the wall and the top strip
- the small gaps between the uprights and the top strip
6. I added a couple of coats of paint from the bedroom project I'd done upstairs (a lot of mileage out of a £10 pot of paint!) and I was AMAZED how well it matched my dresser! :) RESULT. Remember if I can help you out with advice on a similar project, email me at okidokeyolatoke@gmail.com. And don't forget to check my shop page if you are looking for a truly unique gift for a loved one.
Monday 21 July 2014
Nice shady spot

Left over bit of railway sleeper + left over fencing post off cuts + free lead flashing section= shady spot garden bench. :)
Saturday 19 July 2014
Nesting time!

It all started with the Raskog unit I bought from Ikea

I liked the colour, kind aqua but not cold. Also ideal for nappies and changing kit.
I thought about chevrons, but really didn't want something that would make the medium sized room feel small. Then I was scrolling through our holiday snaps and saw this...

Haha! I thought. I've got my theme.
So I drew the lighthouse freehand on the left hand side of the wall.
And then bought 4 sample tester pots (on buy one get one free) and mixed the three with white emulsion I had in my reserves to paint the sky. Then I painted the lighthouse in stripes and then used other tester pot leftovers to do the grass, sheep and the sea. Basically the whole thing cost £3!!!
Here's the finished lighthouse

The birds are cartoon birds I sourced online and printed on transparent stickers, cut them out and stuck them up!
Next I got to work on the black metal edged mirror we brought from the old house, originally from ikea years ago, and painted it up with some rustoleum duck egg blue paint. It took three coats, but well worth it I think.

And here it is:

Oh, and I painted the inner panels of the ikea wardrobe door in the sky colour. Y'know, just because. It's only emulsion, so I can wipe it off one day if I want to.

Really want to paint the black double bed and the side of the wardrobe, but think I'm going to have to pick my battles!
So far it's probably cost me £4 (in stickers and paint) as I had so much of it already or was upcycling stuff I already had.
Just need the baby to put in it now... ;)
Thursday 17 July 2014
It was a long journey - but so worth it...
So it's done. I'm finished. My longest project ever.

When I stopped work I really wanted to work on the house's 'Magnolia-ness' and my biggest project was the lounge. So, points to consider in this room:
1. It's North facing - this ruled out my favourite colours of Duck Egg and Eau de Nil as they would have been way too cold. I wanted something that would be warm, but something with depth, yet something which would allow the light to bounce around. Not much then!
2. It's a new build - I wanted to do some kind of wood panelling effect in there that would work in a new-build without looking tacky or like I was trying to make it something it wasn't, and yet add the character I felt it so badly needed.
3. The shape of the room - it's longer than it is wide, with the window on the narrow wall.
4. My furniture, specifically the sofa, which is a 3 seater from the old place. Ideally I would have a two seater which would be more flexible and less of a block, but there is absolutely no point replacing our functional cheap sofa with an expensive one til the kids are grown.
5. Budget - I've not done my sums yet, but I didn't wanna spend a fortune in here, and I don't think I did. The wood was the biggest expense.
6. Practicality - it has to be resistant to kids and it has to hide toys so I can clear them all away at the end of the day for the adult space to relax.
Inspiration and sources:
Panelling:
I saw this really helpful pin to an article on pinterest, so that gave me the idea for the height of the wainscoating (which I assume to be panelling)

I also saw this pin too which gave me the idea of creating my own frames to fit the size/lengths of the wall, and painting the wall, skirting and dado rail the same colour.


 I then primed all the frames and dado (oh, I added a decorative strip to the dado, just a simple one but enough to give it some 'weight'), sanded the skirting and applied at least three coats of iced latte duracoat from home of colour (Homebase own brand). I could go into how many blinking tester pots I bought and how different they are from the colour guide books which are RUBBISH AND NOT WORTH THE PAPER. But I won't. Honest. And that was the panels done. Only took four weeks……….. (not everyday and all day but still).
 Next I lined the upper parts of the walls with vertical lining paper - apart from the long uninterrupted wall (see below). I went with 'white scatter' from the earth balance range from Crown. It's basically an off white.


I love love love it! I don't understand how, but it's made the room feel wider and thus squarer. Result!
Frames:
I also got to work on some frames which had been varnished wood. They displayed a photo my Grandpa had taken in the 1970s, and a pen and ink he had then done of the photo.


I also got to work on the mirror. I need to re-mount them with a darker colour mount (maybe the iced latte type colour) but they look good for now.

Storage:
I also took the plunge and replaced the toy chest with this three drawer unit. My poppet can get toys in and out much easier and it is probably safer than the heavy lid of the old chest. It was from Dunelm Mill. I was so glad it was Ivory as described rather than the yellowy ivory you can find. Phew! (by the way I don't get money or reward for these links, they are just to save you searching).

And so here the room is, in all its glory.


Apologies, I really need to get a decent daytime shot of the room so it doesn't look so yellow on the screen from the artificial lights. :(


When I stopped work I really wanted to work on the house's 'Magnolia-ness' and my biggest project was the lounge. So, points to consider in this room:
1. It's North facing - this ruled out my favourite colours of Duck Egg and Eau de Nil as they would have been way too cold. I wanted something that would be warm, but something with depth, yet something which would allow the light to bounce around. Not much then!
2. It's a new build - I wanted to do some kind of wood panelling effect in there that would work in a new-build without looking tacky or like I was trying to make it something it wasn't, and yet add the character I felt it so badly needed.
3. The shape of the room - it's longer than it is wide, with the window on the narrow wall.
4. My furniture, specifically the sofa, which is a 3 seater from the old place. Ideally I would have a two seater which would be more flexible and less of a block, but there is absolutely no point replacing our functional cheap sofa with an expensive one til the kids are grown.
5. Budget - I've not done my sums yet, but I didn't wanna spend a fortune in here, and I don't think I did. The wood was the biggest expense.
6. Practicality - it has to be resistant to kids and it has to hide toys so I can clear them all away at the end of the day for the adult space to relax.
Inspiration and sources:
Panelling:
I saw this really helpful pin to an article on pinterest, so that gave me the idea for the height of the wainscoating (which I assume to be panelling)
I also saw this pin too which gave me the idea of creating my own frames to fit the size/lengths of the wall, and painting the wall, skirting and dado rail the same colour.
My next challenge was to work out how wide I should make the panels. I decided to make the panels fit the gaps I had and that would mean each section of wall would have different widths of 'frame' - but I did try to keep them as close as I reasonably could.
Here were my first drawings to work out heights and widths etc.
I needed a 32" height overall from the floor to the top of the dado. Then I went for a 3" gap between the skirting and the frame, a 3" gap between the top of the frame and the dado and a 3" gap between each frame. So the height of each frame would be whatever was left of the height between the skirting and dado, minus 6". Hope that makes sense!
I then measured each wall and with a lot of head scratching came up with 11 panels of the longest wall which meant each frame was 12"1/2. The frames on other walls were mainly the same, but the ones in the bay window walls were as narrow as 9"3/4.
Then the loooong process of cutting the wood to size. I bought long strips of 10cm wide by 1cm deep timber. I cut them at 45 degrees on my Dad's metal angle saw jig thingy and I have no idea how many cuts I made. Frankly, it was traumatic by the end!
So here was my first panel, thought I'd start with an easy one (not!). I was determined to work around the sockets etc in that corner, So I did the best I could and filled the rest with filler. I started off tacking them into the wall, but I didn't like that look, so I ended up using no more nails, which was much more forgiving!
So here's the end of the wall getting finished:
This is the point at which my dear Mum and Dad came to say "Hi" and see how I was getting on. What you can't see to the right on the next wall (under out TV) was two double sockets, two TV arial sockets and two phone sockets. UGLY. My Dad casually mentioned I should try to cover them up. Which is how I spent pretty much the whole of the next day fashioning this out of the mdf and the timber I was using and some corner brackets. Thanks Dad… ;) No really though, worth it. So it's a removable cover with a big hole in it (behind the unit) for all the wires to go into the consoles and then back through up the wall to the TV. It messed up the panelling on my first wall I'd done, but I decided to live with it.
Here are some progress shots:
I then primed all the frames and dado (oh, I added a decorative strip to the dado, just a simple one but enough to give it some 'weight'), sanded the skirting and applied at least three coats of iced latte duracoat from home of colour (Homebase own brand). I could go into how many blinking tester pots I bought and how different they are from the colour guide books which are RUBBISH AND NOT WORTH THE PAPER. But I won't. Honest. And that was the panels done. Only took four weeks……….. (not everyday and all day but still).
Above the dado
Next I lined the upper parts of the walls with vertical lining paper - apart from the long uninterrupted wall (see below). I went with 'white scatter' from the earth balance range from Crown. It's basically an off white.
All my paints were chosen to try and be a good match in tone and shade to the wallpaper which was going on the upper half of the feature wall. It was (half price) from Laura Ashley, it's called Lilac and we went for the dark linen/white colouring. It only took a couple of rolls and had some spare then.
Here it is going up one night. It's worth mentioning I had lined the wall by hanging lining paper horizontally first. I did this to my last house and it really seems to make a difference and feel more luxurious, somehow!
I love love love it! I don't understand how, but it's made the room feel wider and thus squarer. Result!
Frames:
I also got to work on some frames which had been varnished wood. They displayed a photo my Grandpa had taken in the 1970s, and a pen and ink he had then done of the photo.
I also got to work on the mirror. I need to re-mount them with a darker colour mount (maybe the iced latte type colour) but they look good for now.
I also took the plunge and replaced the toy chest with this three drawer unit. My poppet can get toys in and out much easier and it is probably safer than the heavy lid of the old chest. It was from Dunelm Mill. I was so glad it was Ivory as described rather than the yellowy ivory you can find. Phew! (by the way I don't get money or reward for these links, they are just to save you searching).
And so here the room is, in all its glory.
Apologies, I really need to get a decent daytime shot of the room so it doesn't look so yellow on the screen from the artificial lights. :(
Mirror mirror on the wall

So I've recently gone to being a full time Mum (my choice and very lucky/happy), with another little one on the way in September I know I have a small window of opportunity to get everything in the house sorted before chaos of two under two takes over.
This is the first post in my lounge series. I've been busy redecorating in there, but haven't quite finished yet, so more to follow on that later… but I recently took a mirror from my grandfather's house when we were clearing it out after he passed. It had been on their landing for years, and I wanted something of theirs to remember the house by. When we got it home I was glad I had it but it didn't really fit the look I was going for. I was somewhat relieved to find that it wasn't a priceless antique but from Wilko… should've known my thrifty Grandpa wouldn't spend more than he had to (I come from a long line of bargain hunters/DIYers/fixer-uppers!).
That was a relief because I could keep it, but not have to feel guilty about giving it a makeover. Here it is (with one side painted… remembered just in time to get a before photo!

And a close up shot

1. So first up I gave it a good clean, masking taped the edges and used a multipurpose primer.
2. I used the darker colour of my decorative palate as the base (Iced Latte by Home of Colour - Homebase own brand).
3. Then I got quite a dry brush with the lighter colour (White Scatter, Crown earth balance range) and just ran it over the paint lightly so that it would bring out the detailing.


I'm really happy with this as I get to keep the Wilko air loom(!) and trigger memories of waking up to their radio alarm clock (normally Radio 4) on visits to them, and at the same time not compromise on the vision I have for the room. Also, because all the paint was already in the house and it didn't take much, I've saved money by not buying a new mirror - and as I think we've established, Grandpa would approve! ;)
I'll be sure to add a photo when it's up in situ.
Subscribe to:
Posts (Atom)