SHOE SHELVING IN THE CUPBOARD - MAY 2013
Apologies in advance, this isn't a crafty fun post, more of an organising my house post. The cupboard over the stairs in our room was a higgldey-piggldey mess, and I've wanted to put up the shelves for quite some time in there, but it's quite a big project. I finally summoned up the energy to do it today, and here's how!First I worked out the heights of our shoe boxes and put guidelines on the wall with gaps big enough for the boxes. Next I measured across to see what the width of the shelf would need to be and worked out what the depth would be good front to back. The trick here is to get the balance of having them deep enough to hold the boxes fine, but not too deep that it's awkward to get them on the shelf, bearing in mind this was a built in cupboard. My shelves were 35cm deep and 98.5 wide - the gap was 99 so I gave a .5cm tolerance.
In the old house we had loads of Pax wardrobes from Ikea, but I didn't need them all in the new house (built in wardrobes - yes!). So for the shelves I took two side panels and sawed them to the right size. This. was. exhausting. especially as it was warm out there today. One day I'll have a circular saw and it'll take one fifth of the time... but alas not yet!
I also used bit of left over wood I had lying about (although my reserve of scrap wood is running very low now!) as batons.
So - here's how I did it:
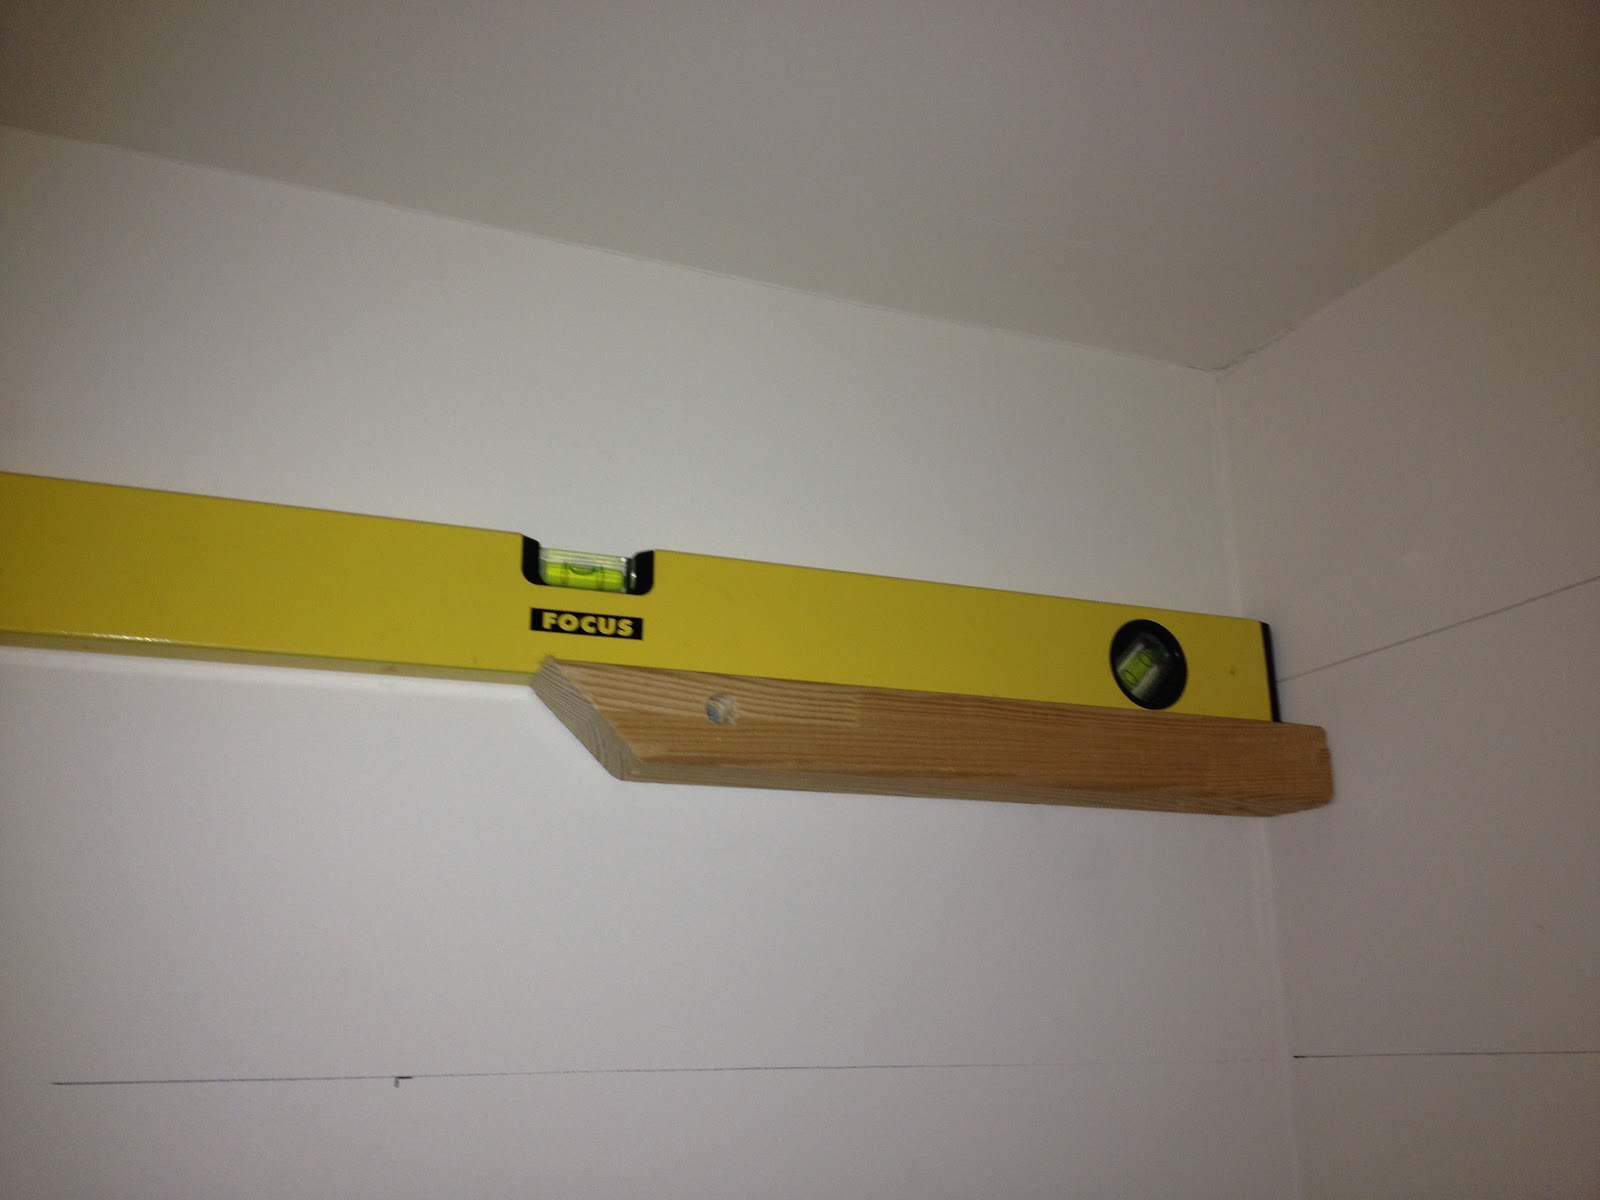
1. Draw guidelines on the wall where you want your shelves (I forgot to take a picture before I any batons up - sorry! but you can see them in the pictures below). Make sure you use a spirit level for this.
2. Measure the depth of the shelf (2cm) down from my guidelines, and that's where the top of the baton needs to be.
3. Drill a pilot hole through the wood and a little through the wall. This gives you where you need to put the raw plug in.
4. Put the raw plug in the wall

5. Put the screw through the wooden baton and into the wall, don't tighten it too tight yet though.


And you just keep going till all the batons are up. Some of my batons were too thick for my screws so I had to do a countersink about 2cm deep! But is seemed to work ok.
Another tip if you have limited baton wood is to cut them at a 45 degee angle when sawing them up, you save about 6cms doing it this way, which was just enough for me! (you can see this on the leading edge of the batons below if you look carefully)
So here are the photos:

Coming along nicely:

And here they are in all their glory:

So glad that job is jobbed - I can put the workmate down in the garage out the way now.
I'm off for ice cream! ;)
No comments:
Post a Comment